Ingredients
Equipment
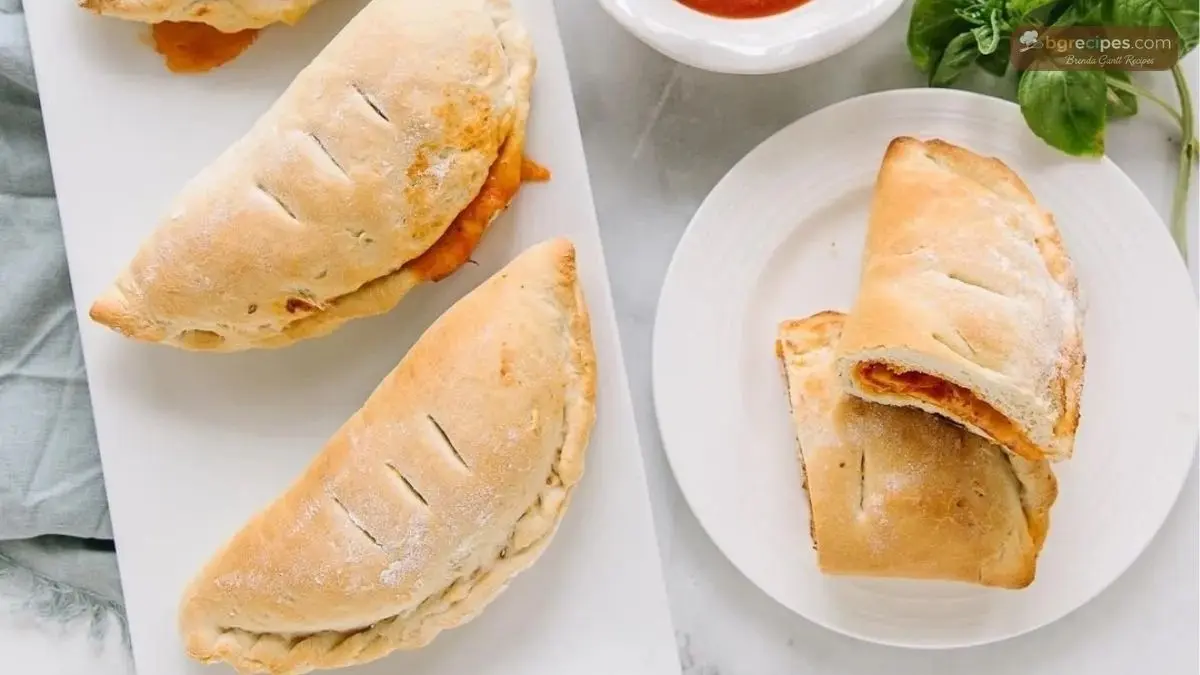
Method
- Remove your cold leftovers from the refrigerator-Brenda loves using leftover vegetable-bean-chicken soup, but any savory mixture works beautifully. Measure 2-3 tablespoons of filling into a small bowl. Add 1-2 tablespoons of grated cheese and mix thoroughly. The cheese acts as a binder and adds richness. Set aside while you work with the dough.
- If your leftover biscuit dough feels too soft or sticky, gradually work in additional flour, kneading gently until the dough becomes stiff enough to roll without sticking, yet remains pliable. This step is crucial for achieving that paper-thin consistency Brenda swears by.
- Generously flour your work surface. Take a golf ball-sized portion of dough (or slightly larger for heartier pockets) and begin rolling with steady, even pressure. Brenda emphasizes rolling the dough “paper thin”-you should nearly see through it when held up to light. This creates maximum crispiness when fried. The shape doesn’t need perfection; rustic rounds or ovals work beautifully.
- Place your cheese-mixed filling directly in the center of the rolled dough circle. Resist overfilling-2-3 tablespoons is plenty. Too much filling causes bursting during frying and messy results.
- Dip your fingertip into water and trace it around half the perimeter of the dough circle. This moisture creates the glue that holds your hot pocket together during the violent bubbling of hot oil.
- Carefully fold the dough over the filling, creating a half-moon or semi-circle shape. Press the edges firmly together, starting from one end and working to the other, pushing out any air pockets as you go. Trim any irregular edges with a sharp knife or pizza cutter if desired-save those scraps for testing oil temperature. Dip a fork’s tines in flour to prevent sticking, then press firmly around the entire sealed edge, creating decorative crimps that also reinforce the seal.
- Pour cooking oil or lard into your skillet to a depth of ½ to 1 inch. Heat over medium-high heat (Brenda uses setting 8 on her stovetop). Test readiness by dropping a small dough scrap into the oil-it should immediately sizzle vigorously and float to the surface.
- Once the oil reaches proper temperature, reduce heat slightly to medium (around setting 7) to prevent the outside from browning before the inside heats through. Gently slide your prepared hot pocket into the hot oil using a slotted spatula. Fry for 1-2 minutes on the first side until deep golden brown, then carefully flip and fry the second side for another 1-2 minutes.
- Remove the fried hot pocket with your slotted spatula or spider strainer, allowing excess oil to drip back into the pan. Transfer to paper towels to drain. While still piping hot, sprinkle additional grated cheese over the top if desired-it will melt slightly into the crispy surface, adding an extra layer of flavor.
- Allow the hot pocket to rest for just 1-2 minutes before eating. The filling will be extremely hot-almost lava-like-so this brief cooling prevents burned mouths while maintaining that desirable crispy exterior.
Video
Notes
Store cooled hot pockets in an airtight container in the refrigerator for up to 3 days. Reheat in a 375°F oven or air fryer for 8-10 minutes until crispy and heated through-avoid microwaving as it makes the crust soggy and rubbery.