Ingredients
Method
- Heat the Pan: Start by heating a large skillet or sauté pan over medium heat. Add the olive oil and let it warm up before adding the diced onion. Sauté the onion for about 3-4 minutes, or until it becomes soft and translucent.
- Brown the Ground Beef: Once the onions are ready, add the ground beef to the pan. Use a wooden spoon to break the meat up as it cooks, ensuring that it browns evenly. This step adds a rich flavor base to the chili, so cook the beef until fully browned, about 5-6 minutes.
- Combine Tomatoes and Beans: Next, add the 24 oz. can of crushed tomatoes and stir to incorporate. Then, add the black beans for that extra punch. Black beans are the secret ingredient that gives this chili its unique depth, so don’t skip this!
- Season the Chili: Add the spices: cumin, chili powder, cayenne pepper, smoked paprika, and salt. Stir well to ensure the seasonings are evenly distributed throughout the mixture. At this point, the chili should be starting to look wonderfully thick and rich.
- Simmer and Thicken: Add water slowly to reach your desired consistency (about 1-2 cups should do). Bring the chili to a boil, stirring occasionally. Once it reaches a boil, reduce the heat to a simmer and allow it to cook uncovered for about 45 minutes. Keep stirring occasionally to prevent it from sticking or burning.
- Adjust for Flavor: Taste your chili and adjust the seasoning if needed. Add a few dashes of Tobasco sauce for a little extra heat, or add more salt and pepper to enhance the flavors.
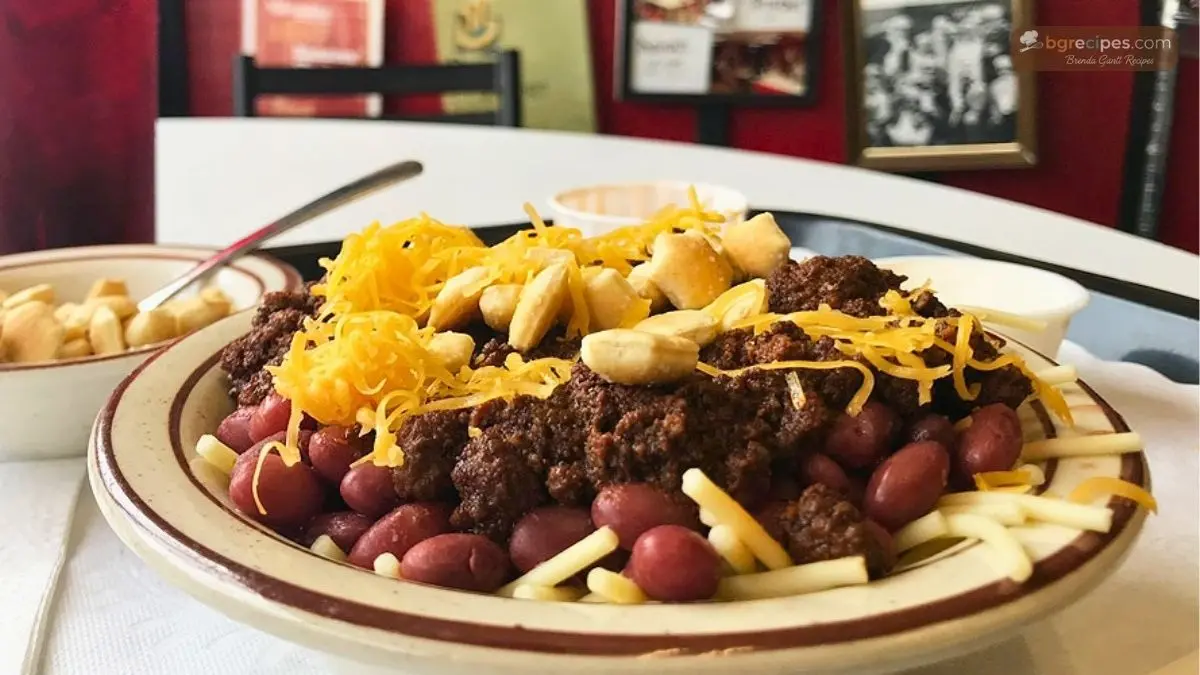
- Serve and Enjoy: Once the chili has thickened to your liking, it's ready to be served! Ladle it into bowls and garnish with your favorite toppings like shredded cheese, sour cream, diced onions, or jalapeños. For an authentic touch, you can even serve it over spaghetti, as it’s done at the famous Real Chili restaurant in Milwaukee.
Video
Notes
To store your Milwaukee Real Chili, allow it to cool completely before transferring it to an airtight container. Place the container in the refrigerator, where it can be stored for up to 3 to 4 days. For longer storage, you can freeze the chili.